 Save
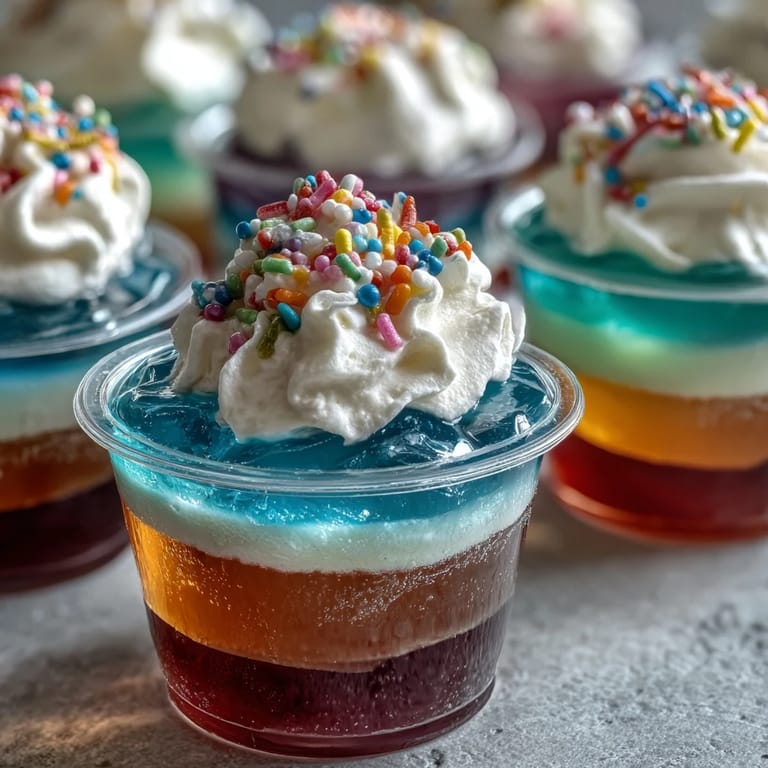
Save The first time I ever attempted rainbow Jello cups, I could tell it was going to be a colorful adventure just from the sight of all those brightly colored boxes lined up on my counter. My kitchen found itself bathed in sunlight as I boiled water, and the fragrance of fruity Jello drifted about—an odd combination of synthetic berry and citrus that actually makes me smile every time. Mixing each flavor, I couldn’t help but wonder if the layers would turn out as crisp as the pictures promised or become a muddled mess. I did have a few runaway splashes, but they only added to the fun and anticipation. It felt almost like creating edible art, a playful break from the usual grown-up desserts.
I made my first batch for a family barbecue—cousins running wild in the yard, neighbors dropping in, and me fussing over layering as carefully as possible. There was an accidental giggle when someone peered into the fridge to check progress, fingers almost touching the cups. Even my uncle, who scoffs at most sweets, took one and declared it ‘hilarious and pretty’. The kitchen seemed lighter, everyone hovering while the final whipped cream swirled onto the cups. These moments reminded me that desserts sometimes spark the best laughs and the most unexpected group selfies.
Ingredients
- Strawberry Jello (red): This layer adds a sweet tang and a pop of color. Be sure to fully dissolve the powder for the clearest results.
- Orange Jello: Bright and cheery, orange Jello creates a sunny stripe—if you chill the layer enough it won’t mix into the others.
- Lemon Jello (yellow): The yellow layer brings a gentle zesty flavor, perfect for balancing the sweeter flavors.
- Lime Jello (green): I always use lime for a punch of tartness, and its color stands out beautifully between yellow and blue.
- Berry Blue Jello: This flavor smells like summer pool parties and the blue layer is always a kid favorite.
- Grape Jello (purple): Starting with purple lets the bottom layer shine if you use clear cups—just wait for it to set before moving on.
- Boiling water: Necessary for dissolving each Jello box; always measure carefully so every layer is even.
- Cold water: Helps the Jello cool after dissolving and ensures perfect texture, not rubbery or sticky.
- Whipped cream: Adds a soft, sweet finish and balances the fruity flavors beautifully at the top.
- Rainbow sprinkles: Optional, but they make each cup feel like a party and hide any uneven swirls in the whipped cream.
Tired of Takeout? 🥡
Get 10 meals you can make faster than delivery arrives. Seriously.
One email. No spam. Unsubscribe anytime.
Instructions
- Get Everything Ready:
- Set out your clear cups and arrange the Jello boxes by color—this makes it easier to remember the layering order.
- Make the First Layer:
- Mix grape Jello with boiling water, stirring until dissolved, then add cold water. Carefully pour a layer into each cup and chill until set, watching to see how the color deepens as it chills.
- Build Up the Rainbow:
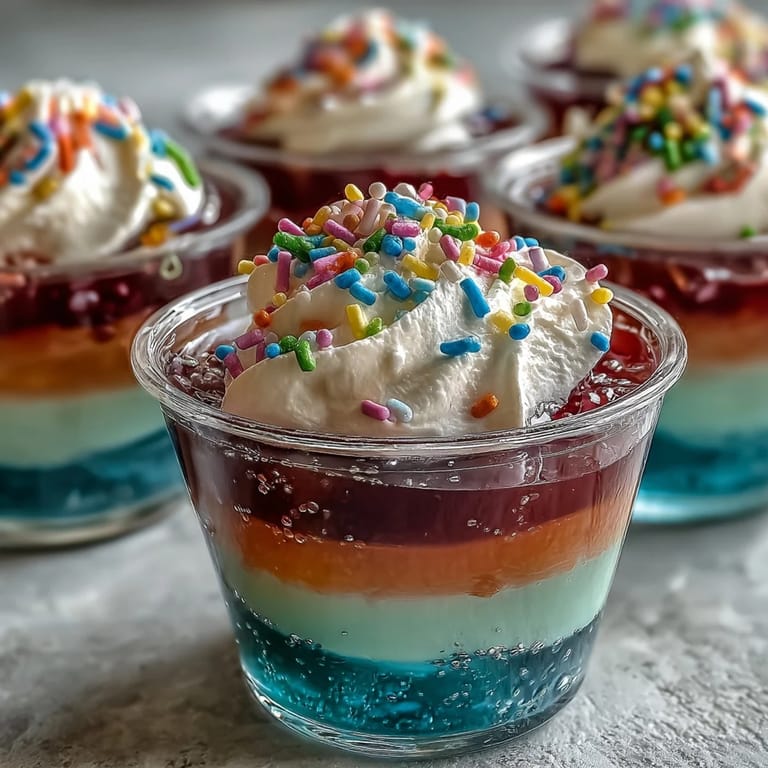
- Repeat with blue, green, yellow, orange, and finally red Jello, always letting each color firm up before adding the next. If you peek in the fridge and see wiggle, give it a few more minutes.
- Finish with Flair:
- Top each cup with whipped cream, swirling little peaks. Sprinkle rainbow sprinkles if you’d like, and keep them cold until ready to serve.
- Serve & Share:
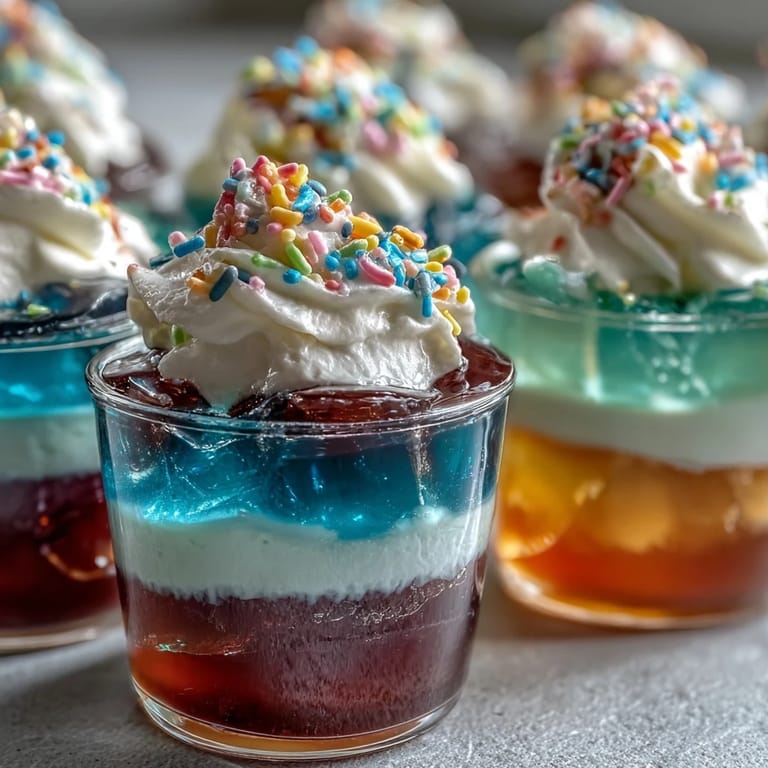
- Hand out chilled cups at your next party or just because; watch the smiles pop up as soon as everyone gets their own rainbow dessert.
 Save
Save Watching kids assemble their cups at a birthday party, each arguing over the best color, suddenly transformed this dessert into an activity and a memory all its own. The kitchen was noisy and sticky, but every rainbow cup looked uniquely beautiful and the laughter was worth the mess.
How To Avoid Soggy Layers
The trick I learned is to never pour hot Jello over a just-set layer. Always let the mixture cool for a few minutes—otherwise, the colors bleed and everything turns marbled instead of stripy.
Making It Allergy Friendly
When I have guests who use dairy alternatives, coconut whipped cream works perfectly and still keeps the fluffy topping. Double-check labels on Jello and toppings for hidden allergens if you’re making these for little ones.
Tips For Personalized Cups
Let each child choose their own color order or add extra sprinkles for fun—this turns dessert time into a craft project. A small spoon is best for layering without splashes, and the clear cups are great for showing off those stripes.
- You can prep layers the night before.
- Use a piping bag for whipped cream to get neat swirls.
- Don’t forget to keep extra napkins handy.
 Save
Save Rainbow Jello cups always remind me that dessert can spark creativity and bring a roomful of smiles. The best part is watching everyone’s face light up—no matter their age.
Recipe FAQs
- → How do you achieve the rainbow layers?
Prepare each Jello flavor separately, chilling after each layer for 30–40 minutes to set before adding the next color.
- → Can I use different Jello flavors?
Absolutely! Swap out any flavor or color to suit taste or occasion, or use sugar-free options for a lighter treat.
- → How do I keep the layers sharp and distinct?
Allow each layer to fully set before adding the next, and pour gently to prevent mixing colors.
- → Is there a dairy-free option for the topping?
Yes, coconut whipped cream or other non-dairy alternatives make great toppings for those avoiding dairy.
- → Can these be made ahead of time?
These layered Jello cups are perfect for prepping in advance; simply keep them covered and refrigerated until serving.
- → What tools do I need for preparation?
Use clear serving cups, mixing bowls, measuring cups, and a refrigerator to layer and chill each component successfully.